

intrepid heart monster hunter rise
Monster Hunter Rising: All-time Endgame Charge Bract Builds
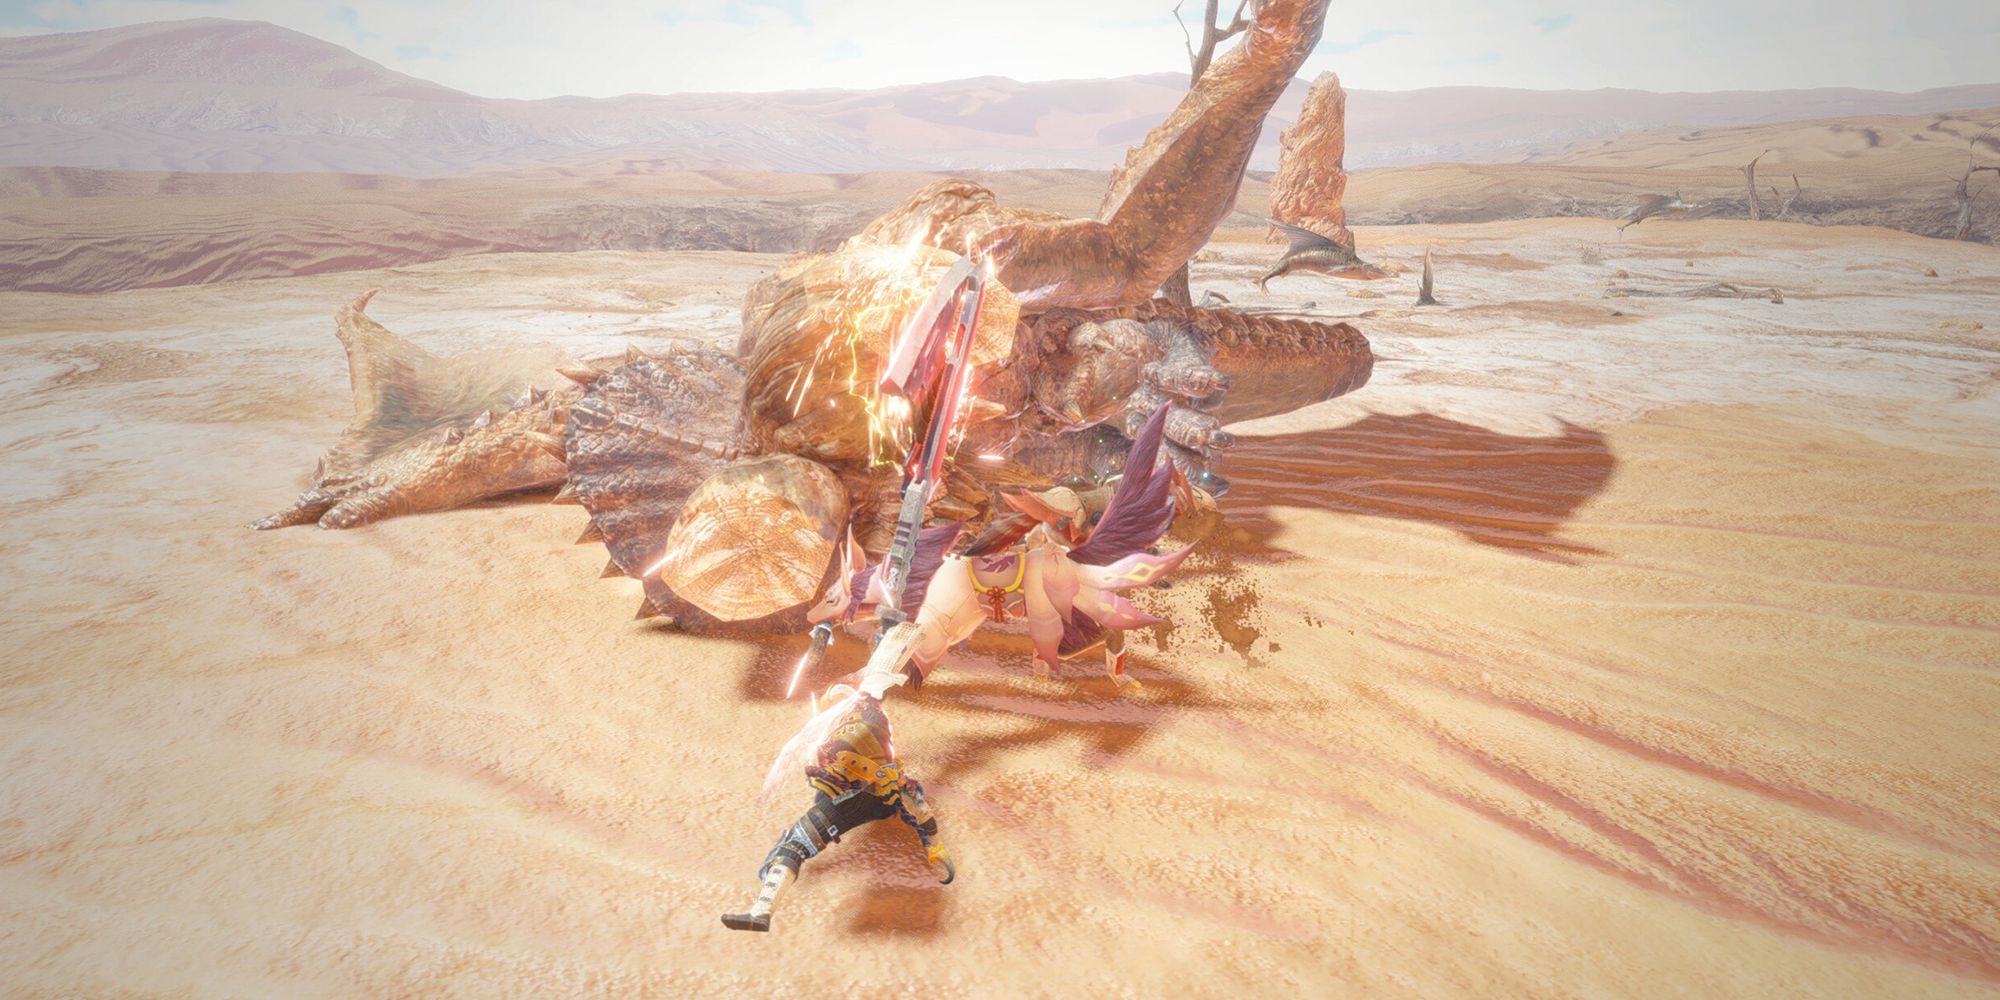
Charge Blades in the Monster Hunter games are known as one of the most complicated options for a reason. Here are some of the best endgame builds.

The Charge Blade in Monster Hunter Rise is known as the most complicated weapon the game has to offering for a reason. With mechanics like Phials, Charging Phials, Overcharging Phials, charging the shield, Guard Points, Amped Elemental Belch, and Super Amped Elemental Discharge, it's no wonder people get overwhelmed trying to larn this affair alongisde all the other circuitous mechanics these games tend to accept. And, with the proclamation of Monster Hunter Now, i can simply imagine how the Accuse Blade will play (if at all) in the mobile game.
But, for the people who stuck with information technology and fabricated information technology to the endgame of Monster Hunter Rise, here are some of the best endgame builds as of Title Update four.
The 3 Main Endgame Builds
Technically the Charge Blade has over 6+ 'meta' endgame builds (tin can't say at that place isn't enough build variety) if all the element variants are included such as the Burn down, H2o, Thunder, Ice, and Dragon Builds. But, those are all only variations of the Elemental SAED build, which aslope 2 others, are the best endgame builds currently in the game:
| Build Name | Build Explanation |
|---|---|
| Elemental SAED | This is the nearly meta build for the Charge Blade in MHR currently, and it'due south centered around using different Elements and Elemental Weakspots to deal as much damage with as many SAEDs every bit possible. |
| Condensed Spinning Slash | The play style is for people who like the pizza cutter-esque Fell Axe version of the CB's Axe Form. Excels in only well-nigh everything the SAED Build doesn't from crit damage to Status Effect awarding and so on. |
| Impact SAED | This would be the standard Charge Blade build in whatever other MH game and the Elemental Builds would be the niche ones, but Ascension (and Sunbreak especially) really changed things upwards for Elemental CBs. Raw SAED specializes in consistent and reliable damage, has a ton of KO potential with Touch Phials, and players won't need to make a build for each chemical element, target specific areas (other than the head), or focus Elemental weak spots. |
Fifty-fifty knowing nigh these builds, every actor is however typically in a dissimilar place in their progression, at a different Master Rank, or is missing some specific monster materials, information technology'south going to be tough to fully emulate the 'perfect' version of each of these builds. Merely, if players manage to get everything built, a corking Talisman, and fantastic Broaden rolls, here are all the Active Skills they should aim to accept active for each build:
| Elemental SAED | Condensed Spinning Slash | Impact SAED |
|---|---|---|
| Guard | Baby-sit | Guard |
| Guard Up | Baby-sit Up | Guard Up |
| Load Shells | Load Shells | Load Shells |
| Rapid Morph | Rapid Morph | Rapid Morph |
| Blanch Gratuitous | Flinch Gratuitous | Flinch Free |
| Furious | Weakness Exploit | Artillery |
| Element Exploit | Disquisitional Heave | Focus |
| Resentment | Wirebug Whisperer | Resentment |
| Outburst | Outburst | Resuscitate |
| Dereliction | Air current Pall | Dereliction |
| Dragon Conversion | Pulverisation Mantle | Artillery |
| Burn/Water/Thunder/Ice/Dragon Resistance | Intrepid Eye | Intrepid Eye |
| Fire/Water/Thunder/Ice/Dragon Attack | Spiribird's Call | Dragonheart |
| Narwa, Teostra, or Kushala Blessing | Recovery Upwards | North/A |
| Stamina Surge | Stun Resistance | Northward/A |
| Latent Power | Latent Power | North/A |
| Attack Heave | Attack Boost | N/A |
| Critical Centre | Critical Eye | N/A |
| Due north/A | Northward/A | North/A |
Charge Blade Priority Skills & Weapon Options
Now, between these three builds, the Skills players are going to want to prioritize will modify depending on what they adopt. Some similar to have Evade Extender, while others swear by the newer Disobedience Skill But, in full general, these Skills are of import on every CB build:
| Skill Name |
|---|
| Load Shells |
| Rapid Morph |
| Guard |
| Guard Up |
| Focus |
Elemental SAED Skills & Weapons
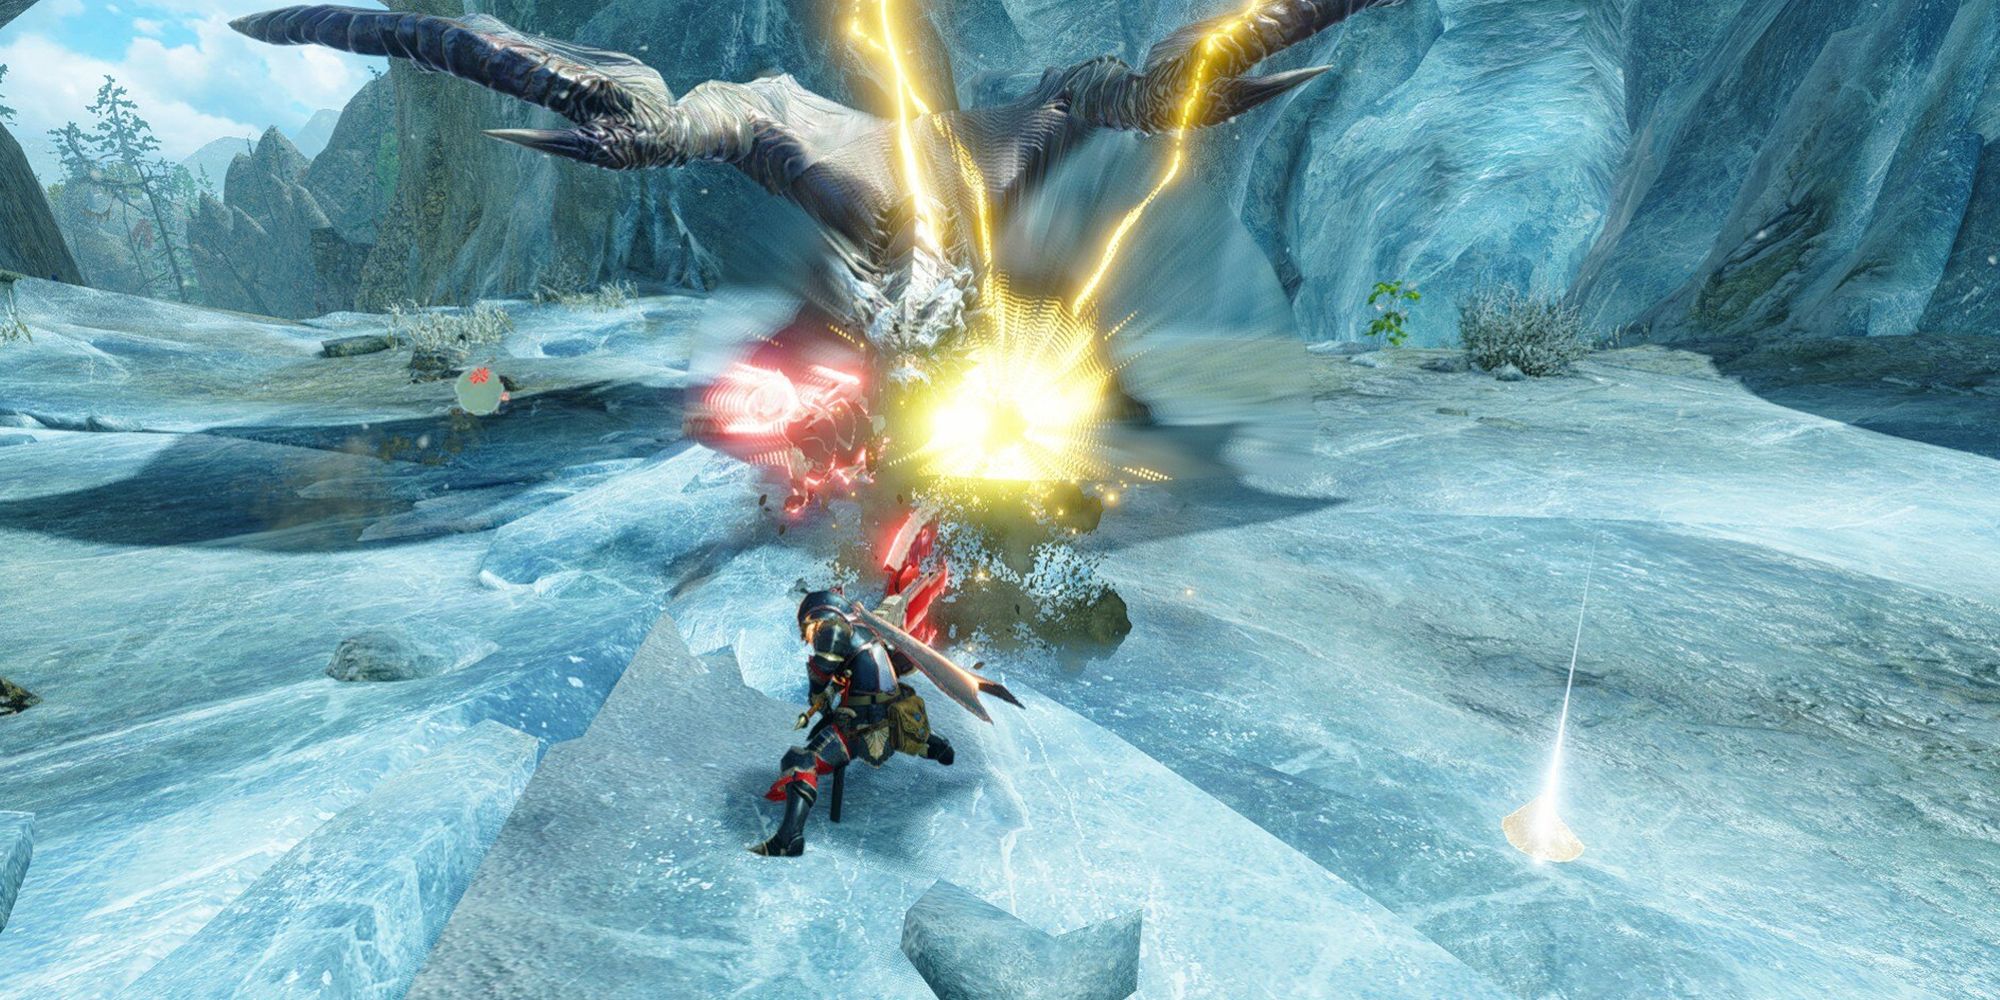
As far as weapons and skills become for the standard Elemental SAED build, it'south all about what Skills or Weapon combinations can attain the highest Element numbers. Title Update four introduced Risen Crimson Glow Valstrax whose armor has a skill called Dragon Conversion, and this played a large role in irresolute the 'meta' build for this play style. Below are the Skills players will want to have agile when possible every bit well as their choices for most 'optimal' weapons to use:
| Skill Name | Minimum Levels Equipped | Reasoning | |
|---|---|---|---|
| Dragon Conversion | iii/three | Turns every four points of Elemental Resistance into +ane Elemental damage with whatever weapon the player currently has equipped. | |
| Fire, Water, Thunder, Ice, Dragon Resistance | iii/iii | Works in combination with Dragon Conversion to get Elemental damage even higher. | |
| Guard | four/five | Should probably have at least Guard 4 if not Guard 5. Doing and so makes information technology and so virtually attacks can be Guard Point'ed and players won't accept that long recovering animation afterward blocking. | |
| Guard Up | two/3 | It makes unguardable moves more than guardable, players volition be getting used to blocking over avoiding attacks and this makes Guarding almost ever the safer option anyhow. | |
| Load Shells | ii/2 | Mandatory on any CB Build since Lvl 2 Load Shells hateful players accept full vials when they're yellow instead of red. | |
| Furious | iii/3 | While equipped player gets actress Defenses on Red Whorl, at Max Rank +30 Defence that gets added into Dragon Conversion for Elemental damage. | |
| Chemical element Exploit | ane/3 | Huge boost in Elemental harm, should always exist equipped when possible | |
| Resentment | i/3 | Only worth using if running Dereliction likewise, is a pretty sizeable buff to all non-Elemental damage. | |
| Rapid Morph | 3/3 | Some say it'due south just necessary for convenience, others say it's mandatory, either way having it reduces all transition animation time from Sword to Axe mode, vice versa, and the AED/SAED animations as well. | |
| Burst | ane/3 | CB, even without Spinning Slash, deals a lot of hits in a minor span of fourth dimension, which means Outburst is often active. When agile it increases both regular and Elemental attack. | |
| Elder Dragon Blessing (Narwa, Teostra, Kushala) | 2/4 & Stormsoul 3/five | The approval equipped highly depends on what Element Build that player is currently running. Stormsoul for Thunder, Teostra Blessing for Burn down, and Kushala Approving for both Water and Ice. | |
| Flinch Complimentary | 1/3 | Mandatory in multiplayer to avert being stun locked by other players. Will be replaced by Shock Absorber in Title Update 5 | |
| Weapon(s) | |||
| Weapon Name | Weapon Element | Weapon Tree | Phial Type |
| Crawling Crusher | Burn | Rakna-Kadaki Tree | Chemical element |
| Armordraad | Water | Vaik Tree | Element |
| Flicker Blizzard Wail | Ice | Auroracanth Tree | Element |
| Asylum Pearl | Thunder | Narwa Tree | Chemical element |
| Crimson Mechwing | Dragon | Valstrax Tree | Element |
Condensed Spinning Slash Skills & Weapons

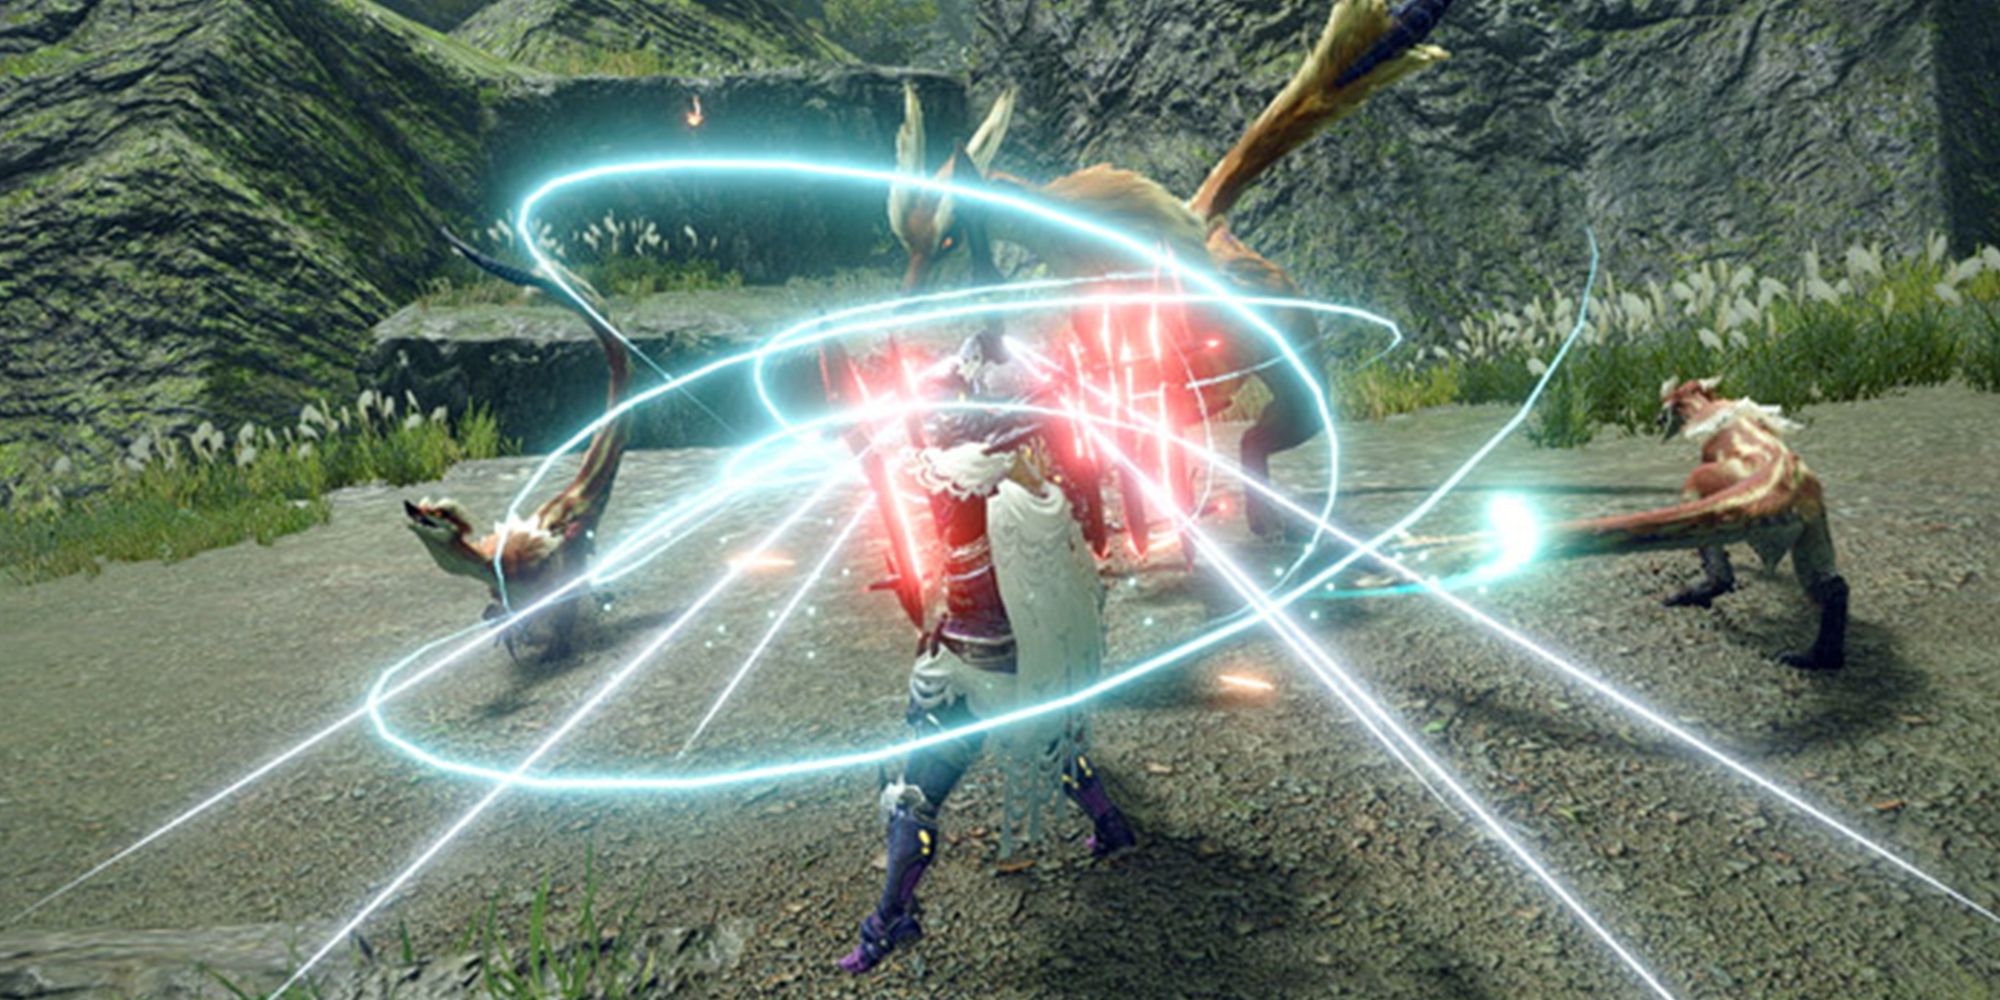
As previously mentioned, in that location are a lot of Skills that players using either a SAED or CSS build in one of Capcom's all-time games will tend to employ. Just, CSS Builds focus more on Critical Risk, Disquisitional Damage, and general Assault Damage Skills than the SAED builds. There's one cardinal reason for this, Phial Explosions tin can't critically striking. Only the Barbarous Axe sure tin can, and because it spins like a chainsaw this weapon is one of the highest multi-hitting options in the game.
Because the Brutal Axe is a animate being in terms of multi-hit potential, it'due south too a fantastic build for the unlike Condition Effects in Rise: Poison, Paralysis, and Smash. Withal, a Raw Impairment weapon also works equally also with this playstyle for massive DPS.
| Skill Name | Minimum Levels Equipped | Reasoning | |
|---|---|---|---|
| Guard | iv/v | Should probably have at least Guard 4 if not Guard 5. Doing so makes it and then about attacks can be Baby-sit Point'ed and players won't have that long recovering blitheness later blocking. | |
| Guard Upwards | 2/three | It makes unguardable moves more guardable, players will exist getting used to blocking over avoiding attacks and this makes Guarding almost always the safer option anyway. | |
| Load Shells | 2/2 | Mandatory on any CB Build since Lvl ii Load Shells hateful players accept full vials when they're yellowish instead of red. | |
| Rapid Morph | three/3 | Some say it's only necessary for convenience, others say it'southward mandatory, either mode having it reduces all transition animation time from Sword to Axe mode, vice versa, and the AED/SAED animations every bit well. | |
| Assail Boost | 7/7 | Considering Roughshod Axe hits and then oft, any flat buffs to Assault harm take massive benefits. | |
| Weakness Exploit | 1/iii | As long as players are attacking weak spots often, they'll find themselves critting a lot more than with this active. Again, a huge benefit for multi-hitting attacks. | |
| Critical Boost | 1/3 | Improves crit damage by xxx to 40 per centum at Max Rank, and this build crits quite a lot. | |
| Critical Center | iii/7 | Boosted Affinity equals more crits overall. | |
| Burst | one/three | Leaps and bounds improve on this build than the other 2 since the constant multi-hits from Savage Axe volition constantly have this active. | |
| Current of air Mantle | i/3 | Regardless of the Switch Skills used, whether it'south Ready Stance or Counter Peak Functioning, players will be using Silkbind Attacks a lot. So this will keep Wirebug charges active more than frequently. | |
| Pulverization Drapery | 1/3 | Basically adds the Blast status effect to any build, every bit long equally players build up the charge completely without getting hit. At that place's also no downside for getting hit exterior of accuse level resetting, despite what the Skill description says. | |
| Intrepid Heart | 1/two | Every 68 hits players get 75 percent damage resistance on the next set on that hits them (if at Rank two). Plus, that same attack volition also ignore damage reactions, which means Fell Axe manner is interrupted less. | |
| Blanch Free | 1/iii | Mandatory in multiplayer to avoid beingness stun locked by other players. Will be replaced by Stupor Absorber in Title Update 5 | |
| Best Weapon Options | |||
| Weapon Proper noun | Weapon Element | Weapon Tree | Phial Type |
| Imperial Lodge Battleaxe+ | Raw | Royal Order Tree | Bear on |
| Vengeful Broadfeller | Blast | Scorned Magna Tree | Touch |
| Vortax+ | Paralysis | Volvidon Tree | Affect |
| Luna Eostre | Toxicant | Gold Rathian Tree | Impact |
Bear on SAED Skills & Weapon
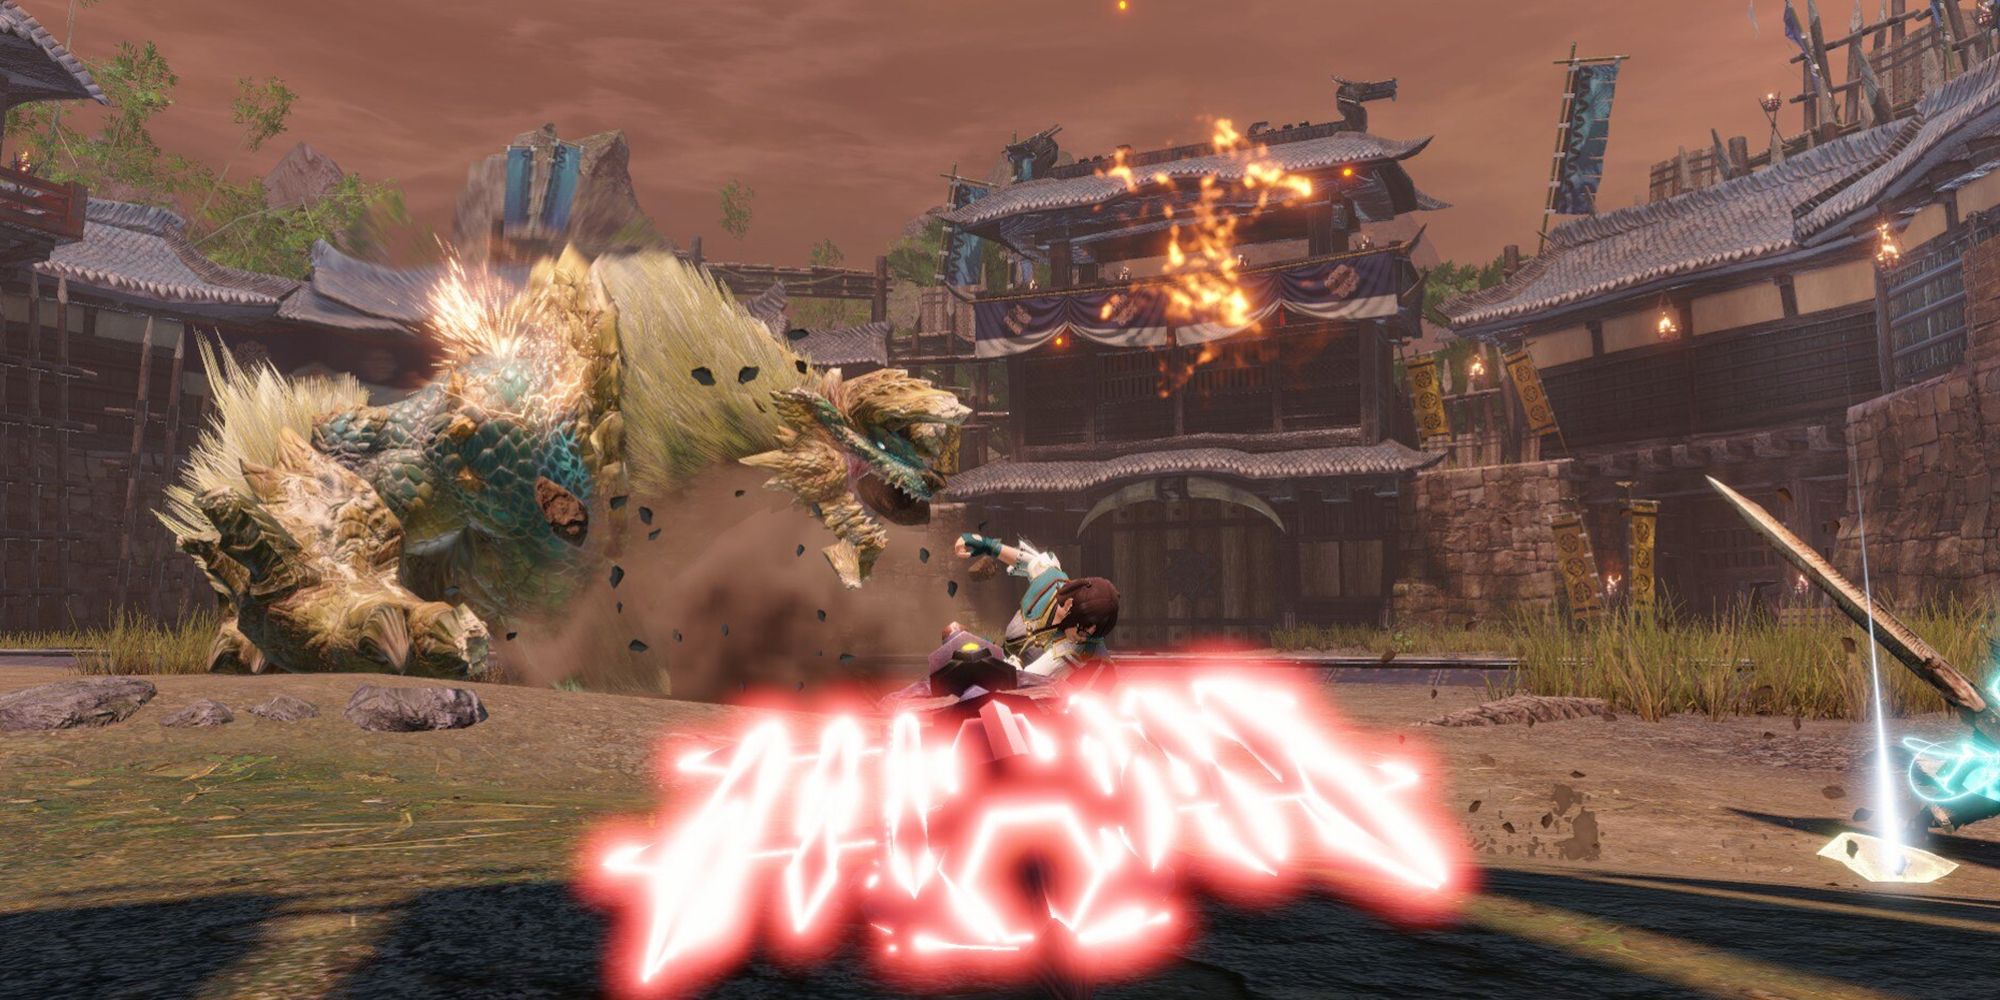
And so at that place are the Impact SAED build Skills and weapon choices. To reiterate, this Bear on SAED build doesn't hit the same damage numbers as either the Elemental or CSS builds above. Simply, information technology's consistent in damage overall and is great at constantly causing the monster to flinch or get KO'd, which is meliorate than damage against some of the tougher monsters.
Plus, players don't need to worry about setting up a different build for each Element or looking upwards monster weaknesses before each hunt, so information technology's by far the most 'streamlined' option. Still, it is lacking in the harm section so the meta endgame build relies heavily on Dereliction to fill in that gap:
| Skill Proper name | Minimum Levels Equipped | Reasoning | ||
|---|---|---|---|---|
| Dereliction | 3/three | Merely CB build that uses Blue Coil on this Skill. A massive bonus to Attack and Stun. | ||
| Resentment | 5/v | With Dereliction, Resentment is ever active which means a flat +25 Attack when combined. | ||
| Resuscitate | 3/3 | 'Aberrant Status' is a deceptive description, Resuscitate is triggered by basically whatsoever negative condition effect, including Dereliction and Dragonheart. | ||
| Artillery | 3/three | Gives Phials a 30 percent damage buff for each Phial Explosion. | ||
| Dragonheart | 2/v | Manifestly, this build doesn't care about Elemental impairment, so the Dragonblight from this Skill doesn't matter. Additionally, it gives huge Elemental Resistances when active. | ||
| Load Shells | ii/2 | Mandatory on any CB Build since Lvl 2 Load Shells mean players have full vials when they're yellow instead of red. | ||
| Rapid Morph | 3/3 | Some say information technology's only necessary for convenience, others say it's mandatory, either mode having it reduces all transition animation time from Sword to Axe mode, vice versa, and the AED/SAED animations as well. | ||
| Baby-sit Up | 2/3 | It makes unguardable moves more guardable, players will be getting used to blocking over fugitive attacks and this makes Guarding well-nigh always the safer option anyhow. | ||
| Guard | 4/v | Should probably take at least Guard 4 if not Guard 5. Doing then makes it so most attacks can be Guard Point'ed and players won't accept that long recovering animation after blocking. | ||
| Focus | two/iii | Makes it easier to get to Yellow Phial charge in fewer attacks. | ||
| Intrepid Center | 2/2 | Every 68 hits players get 75 per centum harm resistance on the next attack that hits them (if at Rank 2). Plus, that aforementioned attack will also ignore damage reactions, which ways Savage Axe mode is interrupted less. | ||
| Flinch Gratuitous | one/3 | Mandatory in multiplayer to avert being stun locked by other players. Will exist replaced by Daze Absorber in Title Update 5 | ||
| All-time Weapon Option | ||||
| Weapon Name | Weapon Element | Weapon Tree | Phial Type | |
| G Gordlock | Raw | Garangolm Tree | Touch | |
Mixed Sets
For the next attribute of each build, permit's go over what armor sets to mix and match. Players volition quickly notice that the Element and and Bear on SAED armor reccomendations take a similar blueprint, while the CSS build is pretty unique. While this is true, that doesn't hateful both sets will have the same Skills agile at the end, as Decorations play a large part in seperating these ii.
Elemental SAED
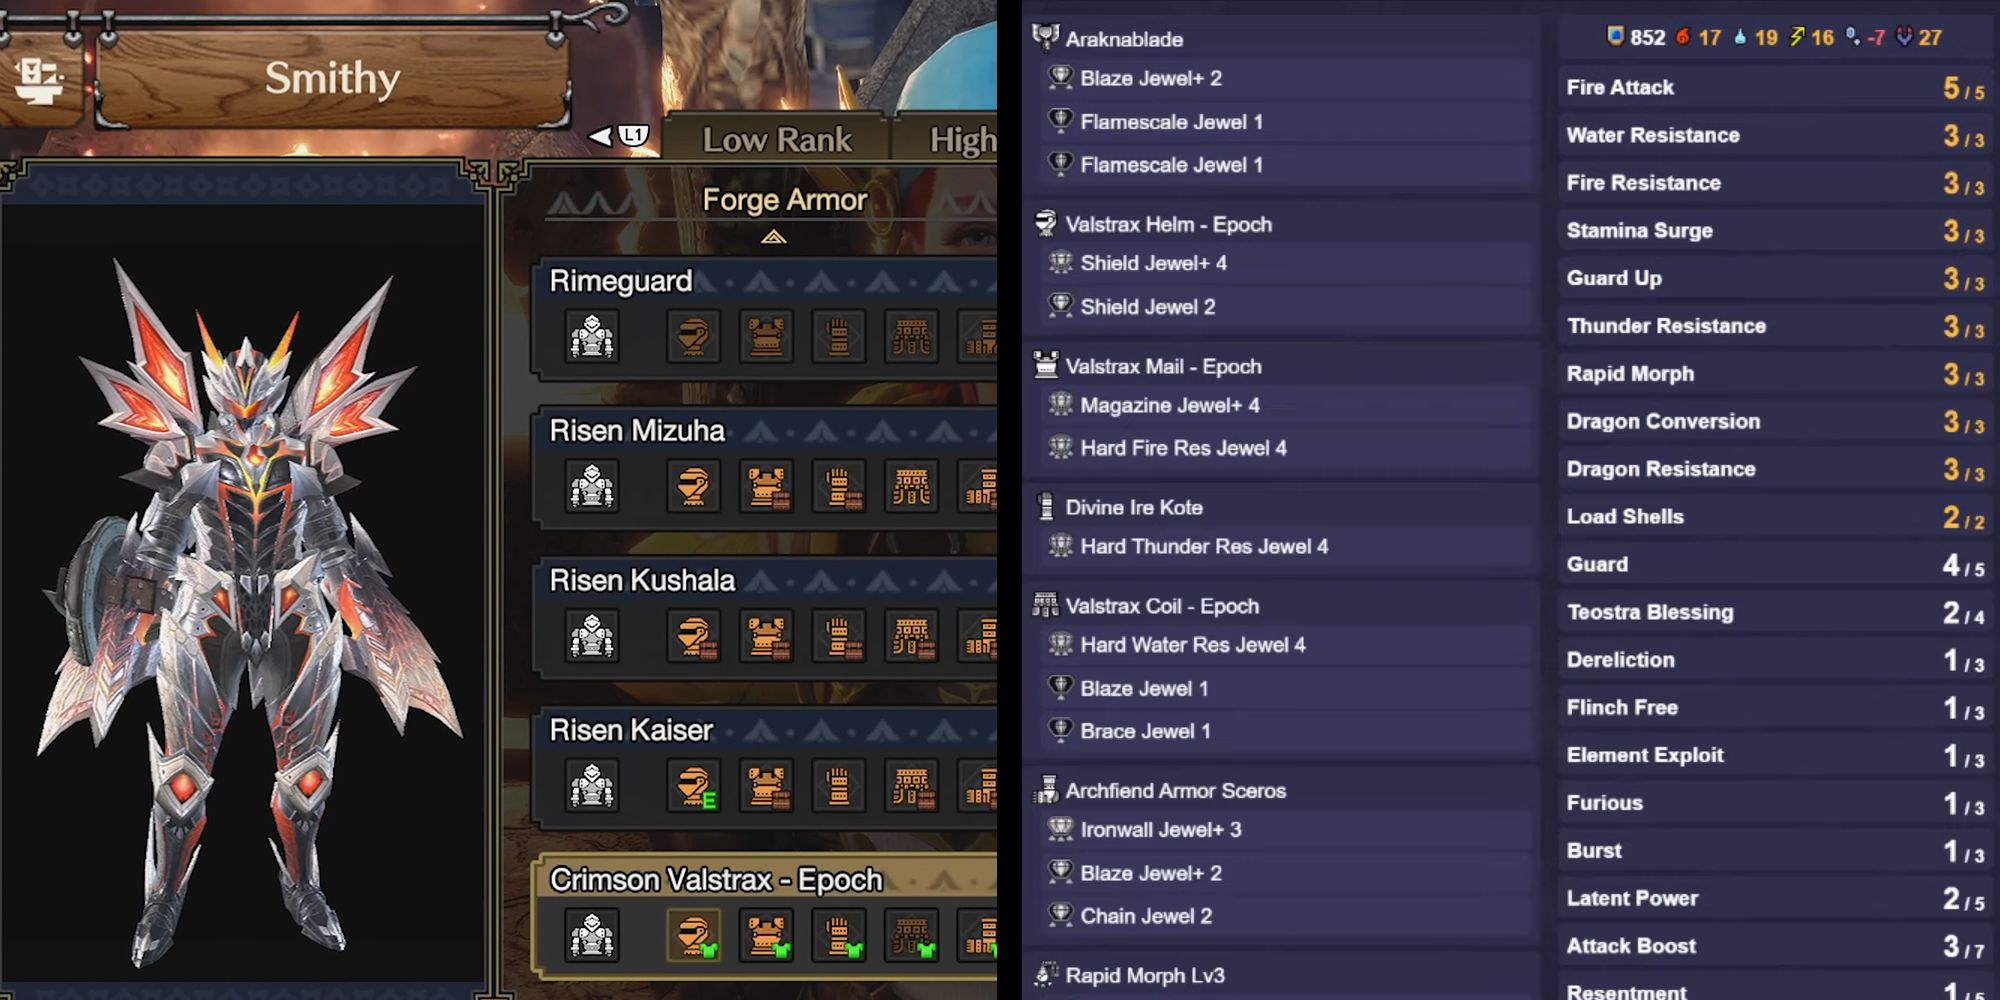
- Set Builder Images were made by using GameCat's Armorset Architect
The Elemental SAED mixed prepare makes complete apply of the Risen Valstrax Armor introduced in Title Update 4 (which looks amazing, by the way), equally the Dragon Conversion Skill on this fix is crucial for getting Elemental Phial Explosions to overpowered levels of damage. Stack that already ridiculous DPS on summit of the bonuses gained from Dereliction, Furious, and Resentment, and it'due south clear to meet how these builds can attain 1000+ damage per Phial Explosion.
| Armor Type | Armor Name | Important Skills |
|---|---|---|
| Caput | Valstrax Helm - Epoch | Dragon Conversion x1 Latent Ability x2 Attack Boost x1 |
| Breast | Valstrax Mail - Epoch | Dragon Conversion x1 Dragon Resistance x3 Assault Boost x1 |
| Artillery | Archfiend Armor Epine | Dereliction x2 Resentment x1 |
| Waist | Valstrax Gyre - Epoch | Dragon Conversion x1 Stamina Surge x3 Set on Boost x1 |
| Boots | Archfiend Armor Sceros | Dereliction x1 Resentment x1 |
'Safer' Build Pick

There is an alternating loadout for this build, as the lack of resistances from Dragon Conversion and constant HP Bleed from Dereliction makes any hit pretty lethal. So, for a safer build that doesn't lose much damage and has less of a chance for players to endure the 'embarrassment' of carting, there's:
| Armor Type | Armor Name | Important Skills |
|---|---|---|
| Head | Valstrax Helm - Epoch | Dragon Conversion x1 Latent Power x2 Attack Boost x1 |
| Breast | Valstrax Mail - Epoch | Dragon Conversion x1 Dragon Resistance x3 Attack Boost x1 |
| Arms | Divine Ire Kote | Furious x1 Critical Eye x2 |
| Waist | Valstrax Coil - Epoch | Dragon Conversion x1 Stamina Surge x3 Set on Heave x1 |
| Boots | Divine Ire Hakama | Furious x1 Evade Extender x2 |
Condensed Spinning Slash
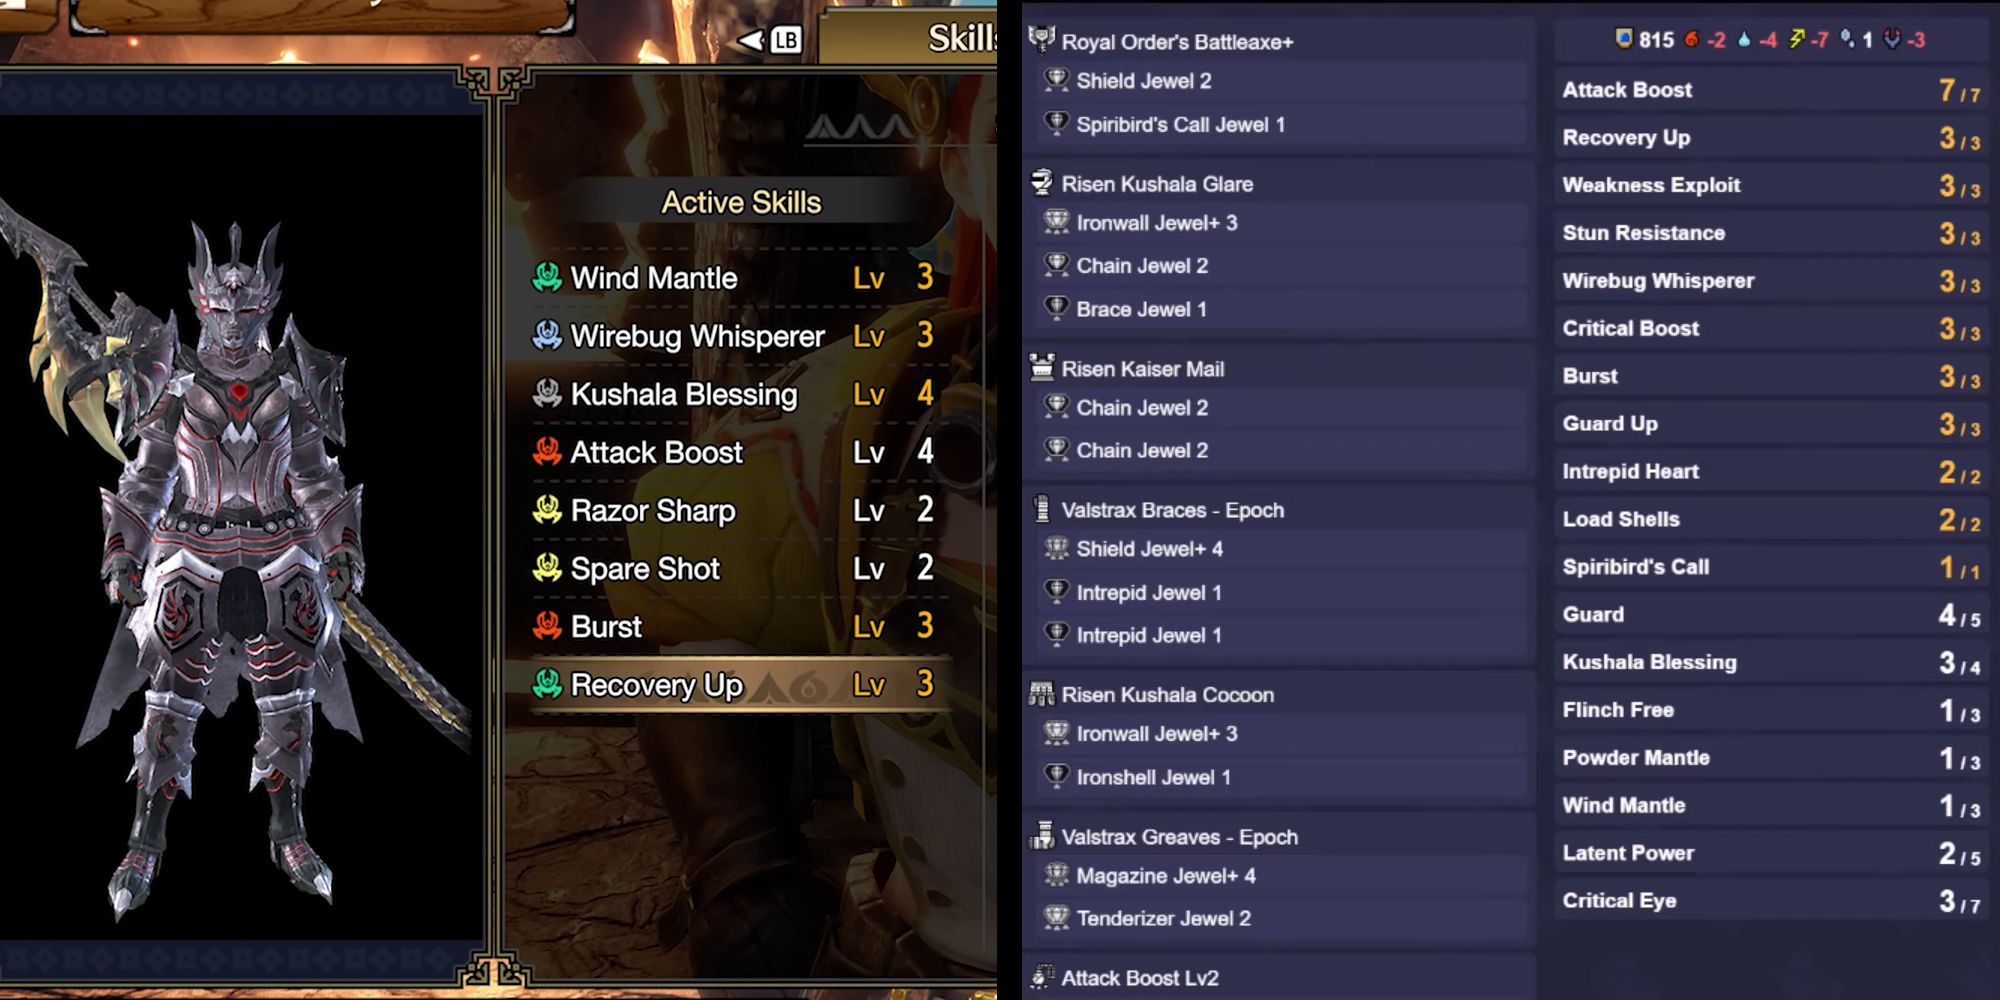
- Set Builder Images were fabricated by using GameCat's Armorset Builder
The next mixed set utilizes a lot of different skills to accomplish the optimal play style for the pizza cutter, such as:
- Current of air Mantle to have Ready Stance or Counter Elevation Operation up as oftentimes as possible.
- Kushala Blessing Rank 3 to partially counteract the HP Drain of Dereliction (strange that there isn't any Velkhana utilization in whatever CB build).
- Powder Drapery to capitalize on the multi-hit potential of the Savage Axe
- Dragonheart to give a general boost to Resistances since CSS builds don't worry well-nigh Elemental damage.
Other than those Skills, the other ones on the armor pieces below might wait out of identify, but they absolutely aid out, and the Decoration Slots on these Armor Pieces practise a lot of the heavy lifting as well:
| Armor Type | Armor Proper name | Important Skills |
|---|---|---|
| Head | Risen Kushala Glare | Current of air Mantle x1 Wirebug Whisperer x3 |
| Chest | Risen Kaiser Mail | Pulverization Mantle x1 Weakness Exploit x1 Critical Middle x3 |
| Arms | Valstrax Braces - Epoch | Disquisitional Boost x2 Latent Power x2 Attack Boost x1 |
| Waist | Risen Kushala Cocoon | Kushala Approval x2 Attack Boost x2 Recovery Up x3 |
| Boots | Valstrax Greaves - Epoch | Critical Boost x1 Stun Resistance x3 Set on Heave x2 |
Impact SAED
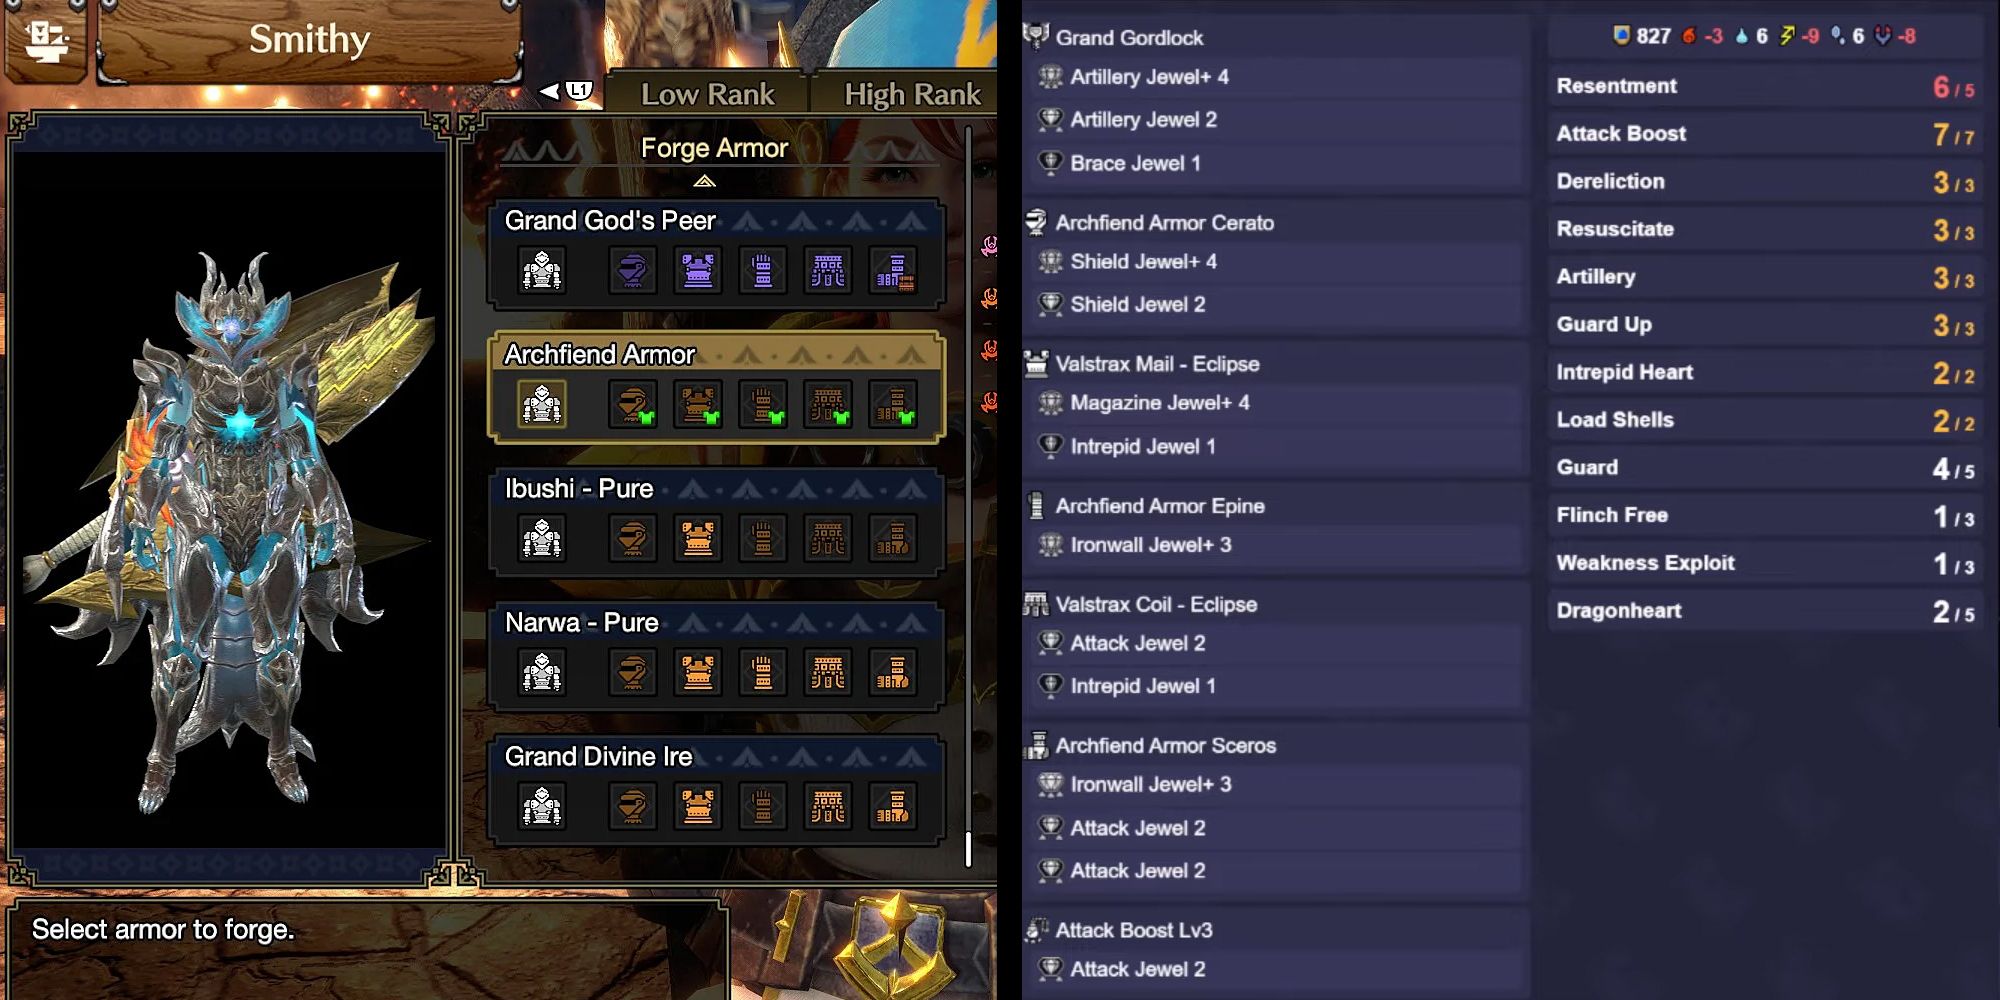
- Ready Builder Images were made by using GameCat's Armorset Builder
And for the Impact SAED mixed prepare, the reasoning backside it is simple. Archfiend Caput, Arms, and Greaves for Dereliction and Resentment, Valstrax Breast and Waist for Dragonheart. Players are going to have Dragonheart active constantly besides equally the HP Bleed from Dereliction, which will in turn proceed Resentment and Resuscitate constantly active for maximum damage output.
| Armor Type | Armor Proper name | Important Skills |
|---|---|---|
| Caput | Archfiend Armor Cerato | Weakness Exploit x1 Resentment x2 |
| Chest | Valstrax Mail - Eclipse | Dragonheart x1 Resuscitate x2 |
| Arms | Archfiend Armor Epine | Dereliction x2 Resentment x1 |
| Waist | Valstrax Curl - Eclipse | Dragonheart x1 Resuscitate x1 Resentment x2 |
| Boots | Archfiend Armor Sceros | Dereliction x1 Resentment x1 |
Augment Skills To Look For In Quiro Armor Crafting

And for the concluding aspect of Charge Blade builds in Rise, let's talk about Qurio Augments. Players should absolutely not experience that they have to roll their Augments until they get the exact skills listed below, as that'southward incredibly tedious. Instead, while rolling for fun or for quality-of-life skills such as Defiance or Recovery Upwards, attempt and too keep these Skills in mind for each build:
| Augment Skill | Reasoning |
|---|---|
| Elemental SAED Build | |
| Strife | The longer a role player's red health, the more benefits this gives. Non plenty benefit to warrant putting into regular build over other Skills |
| Furious | Past far the best thing to get on any Broaden for this build. At Max Rank Furious gives bonus Defenses which give more than Elemental damage from Dragon Conversion |
| Condensed Spinning Slash Build | |
| Razor Sharp | Spinning Axe burns through Sharpness, so this is just convenient. |
| Weakness Exploit | More Weakness Exploit can't hurt, it's merely ever a do good. |
| Burst | Outburst, previously known as Chain Crit by the way, is only worth running at Rank ane or Max Rank, and Max Rank benefits are pretty noticeable. |
| Bear upon SAED Build | |
| Attack Heave | Raw Damage build takes whatever flat bonuses to Attack it can find. |
| Rapid Morph | The build, sadly, doesn't take much room for Rapid Morph, so getting it in an Augment Skill is nice. |
| Flare-up | Outburst is but worth running at Rank 1 or Max Rank, and Max Rank benefits are pretty noticeable. |
Monster Hunter Ascent is available on Nintendo Switch, Xbox One, Xbox S/Ten, PS5, PS4, and PC.
Source: https://gamerant.com/monster-hunter-rise-best-endgame-charge-blade-builds/
0 Response to "intrepid heart monster hunter rise"
Post a Comment